Cloud subscriptions have quietly become another monthly bill. A friend of mine was billed nearly $200 by Google Cloud for a hobby project with fewer than 20 users. Then my own VPS provider, Hetzner, announced a price increase from $9 to $14 a month as RAM prices continue to skyrocket.
That got me thinking about how dependent we have become on cloud services. Today, much of the internet runs on infrastructure owned by a handful of companies like Amazon, Google, and Microsoft. Our photos, documents, applications, and even personal backups often live on someone else's servers.
Roll the clock back fifteen or twenty years and the web was far more decentralized. Personal websites, home servers, forums, and self-hosted services were much more common. You had more opportunities to own your infrastructure and decide where your data lived instead of automatically handing it off to a cloud provider.
That realization made me wonder: could I reclaim a small piece of that independence?
Bringing My Old PC Out of Retirement
I had an old Sony VAIO ultrabook gathering dust in a corner. I hadn't touched it in almost five years. By today's standards, its specs are pretty weak: 4 GB of RAM, an Intel Core i3 processor, and a 500 GB hard drive. With only 4 GB of RAM, even an idle Chrome session could bring the machine to its knees. But for a home server, those limitations hardly matter.
Instead of letting it collect more dust, I decided to give it a second life. Rather than paying cloud services extra cash to host small websites, scripts, and personal projects, why not see how much I could run from a laptop I already owned? Plus, I'm doing my bit to save the planet🙂.
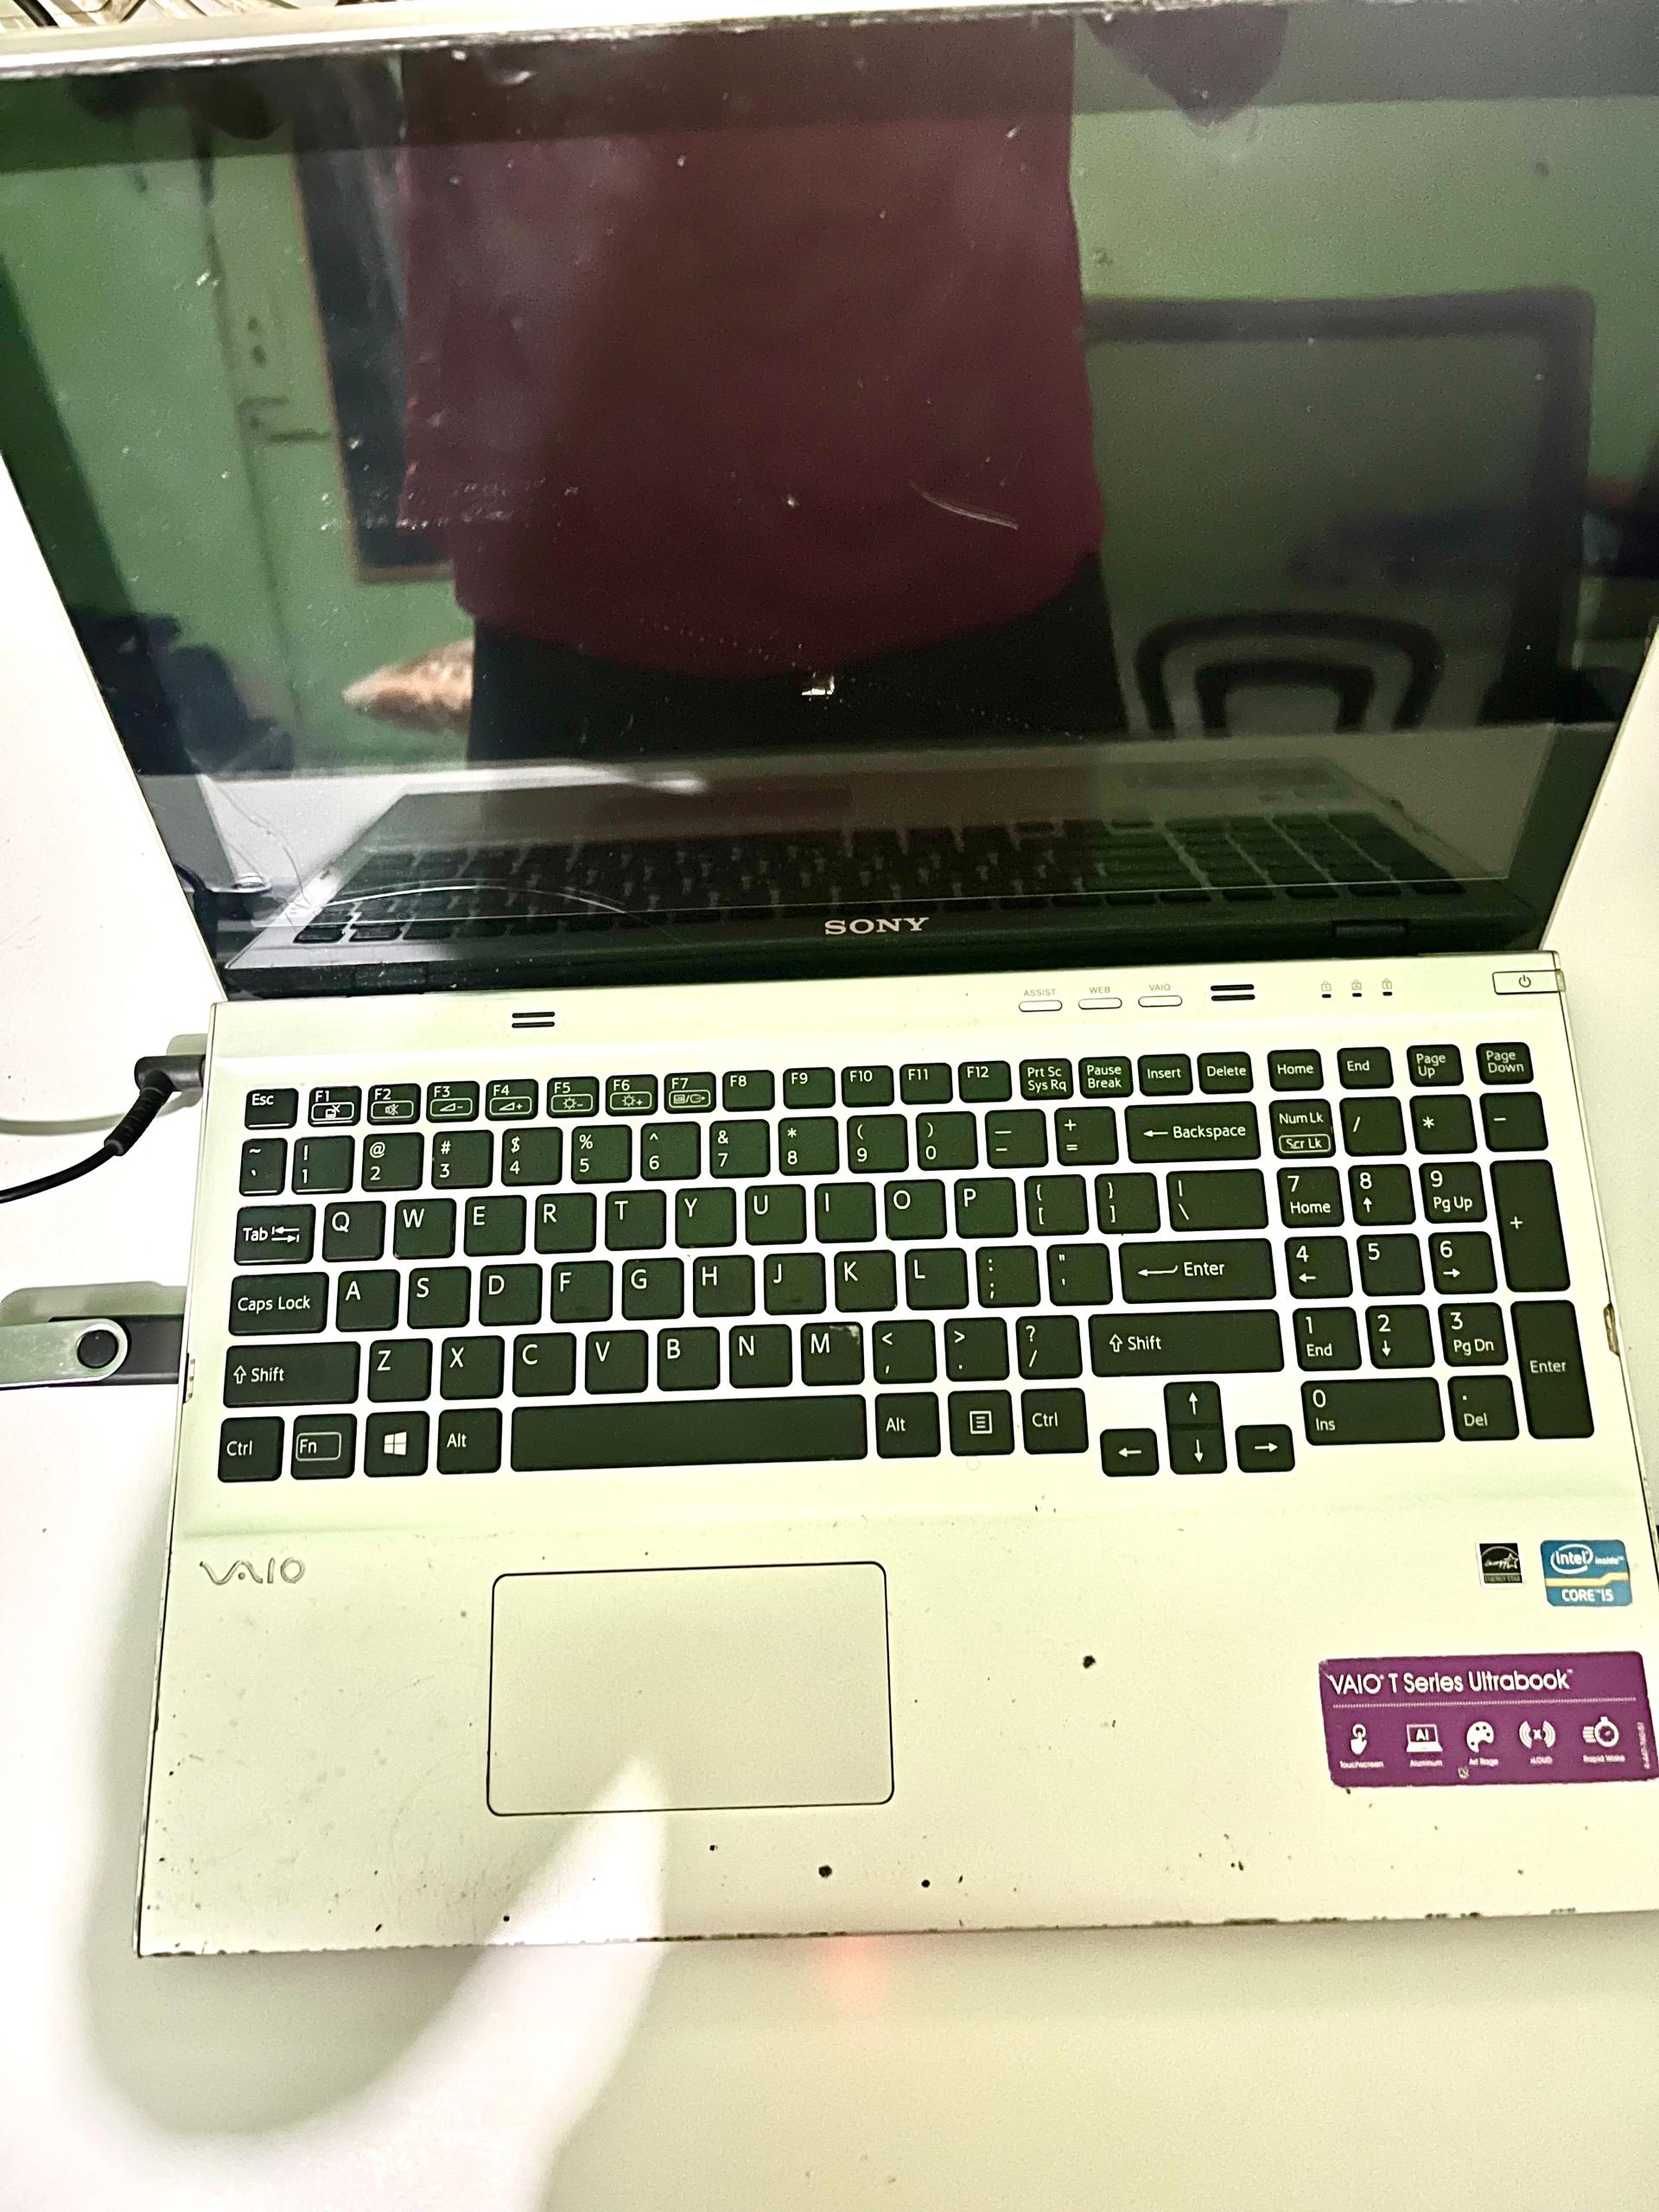 | 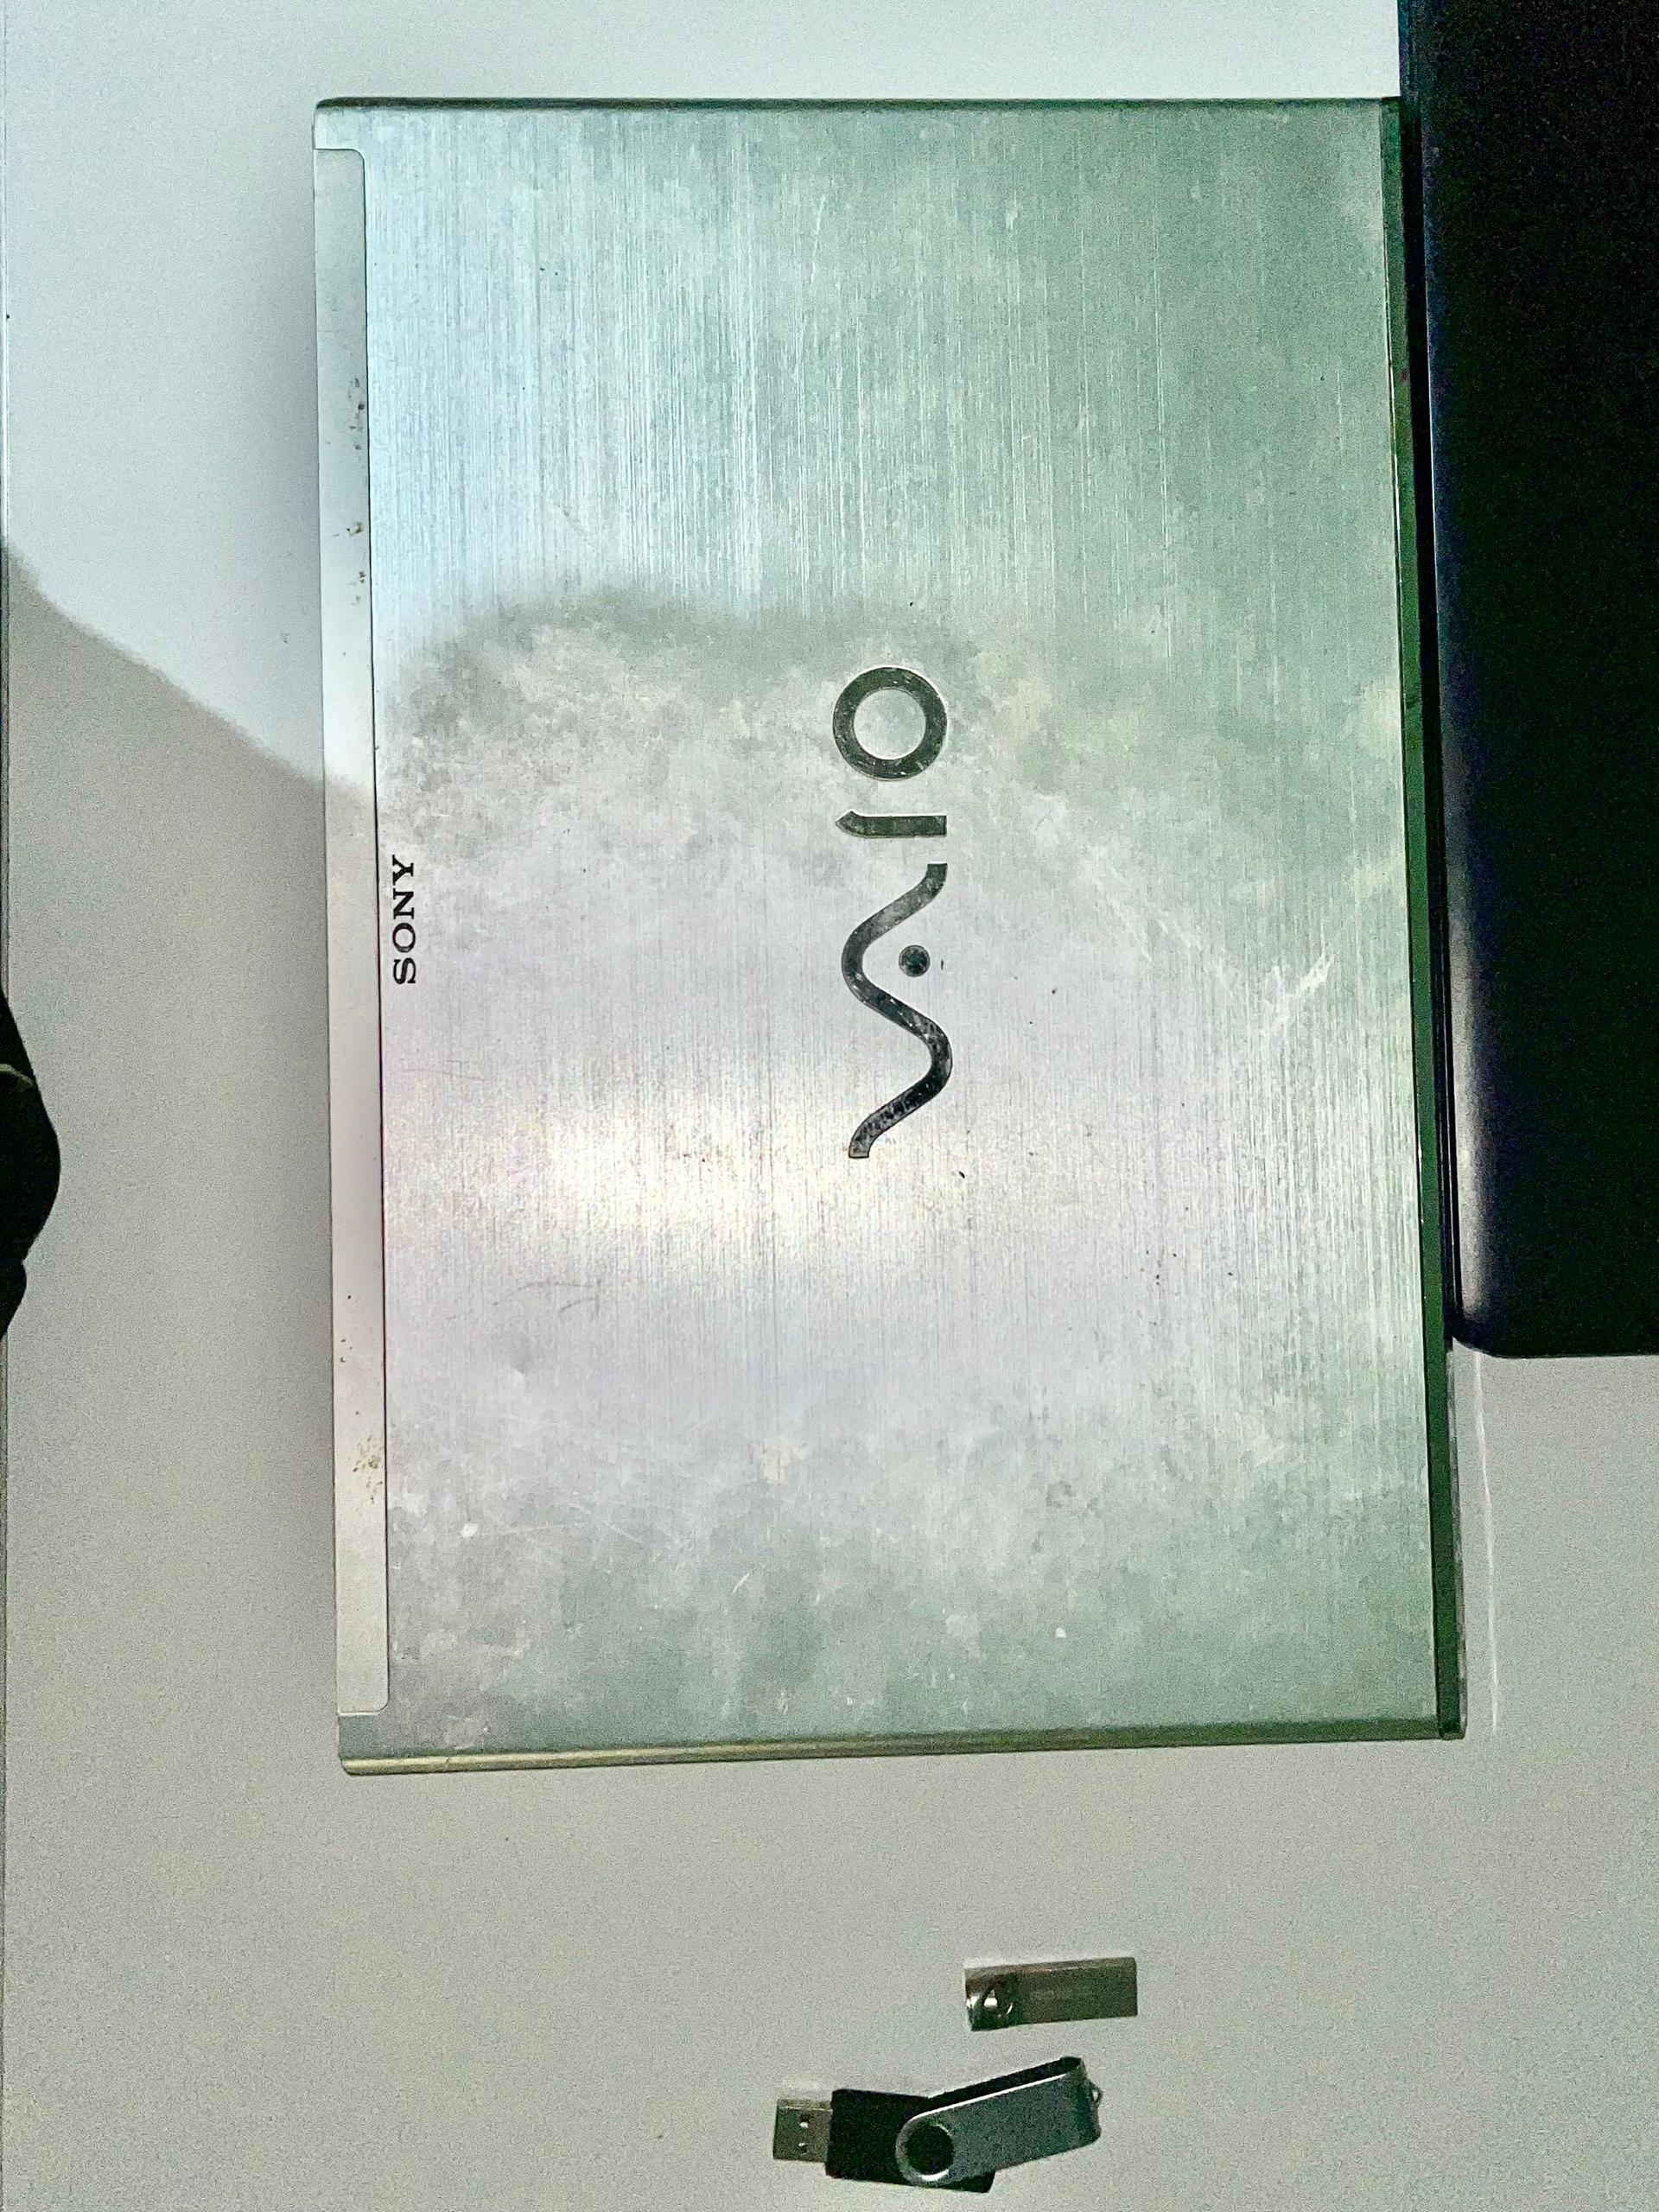 |
Setting Up the Machine
I decided to go with Ubuntu Server. It's one of the most mature and widely used Linux server distributions, with excellent documentation.
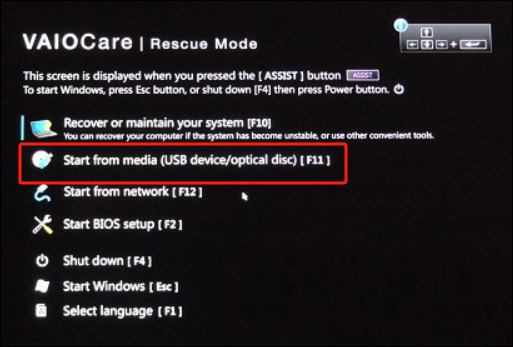
The first step was creating a bootable USB drive with the Ubuntu Server ISO. Once that was ready, I plugged it into the laptop and booted into the BIOS. On my Sony VAIO, this was as simple as pressing the ASSIST button while the laptop was powering on. From there, I selected the USB drive as the boot device instead of the hard drive that still contained Windows.
Installing the OS
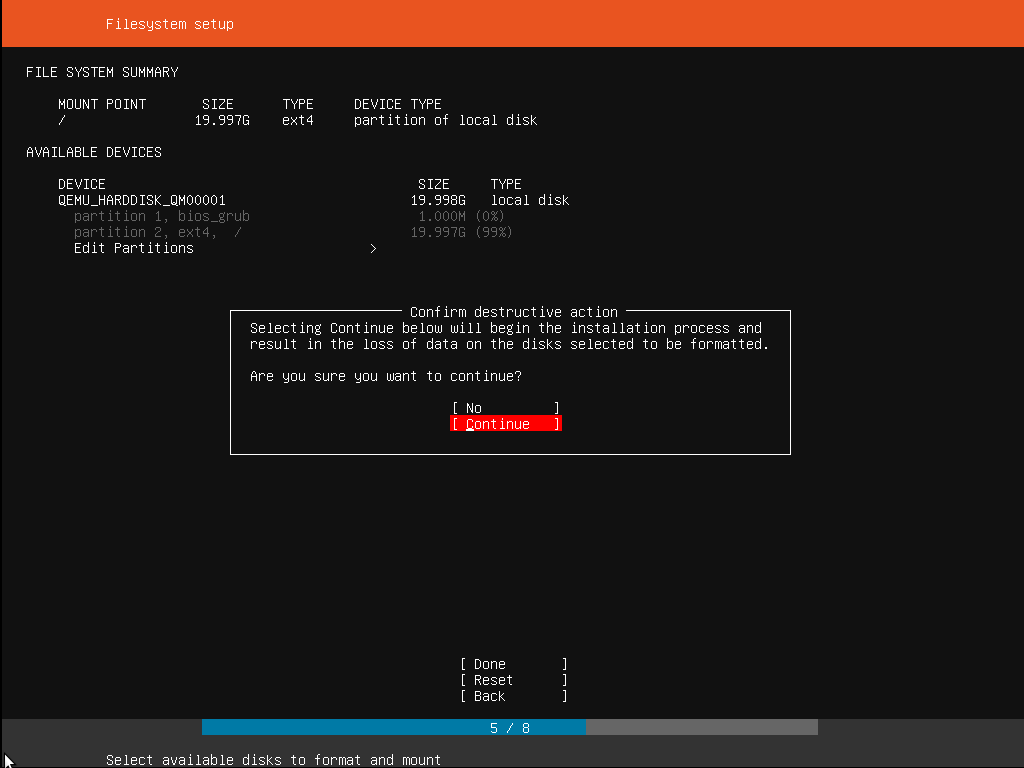
Ubuntu Server includes an installation wizard that walks you through the entire setup process. It lets you configure your language, keyboard layout, network connection, and user account, and even install and enable an SSH server.
Most of the process was simply following the prompts and choosing the options that suited my setup. The final step was wiping the old Windows installation and installing Ubuntu Server onto the laptop's hard drive. After a few minutes, the installation completed, the machine rebooted, and my old Windows laptop had officially become a Linux server.🎉
Accessing It via SSH
Once Ubuntu Server was installed, I no longer needed to connect a monitor, keyboard, or mouse to the laptop. From this point on, I would manage everything remotely using SSH (Secure Shell). SSH lets you securely access another computer's terminal over a network as if you were sitting right in front of it.
Since both my main laptop and the server were connected to the same Wi-Fi network, all I needed was the server's IP address:
hostname -I
Running this command on the server displayed its local IP address. With that, I could connect from my main laptop using:
ssh username@192.168.x.x
Connecting It to My Tailscale Network
Tailscale is easily one of my favorite pieces of software. It creates a secure private network between all your devices, making them feel like they're on the same local network no matter where they are.
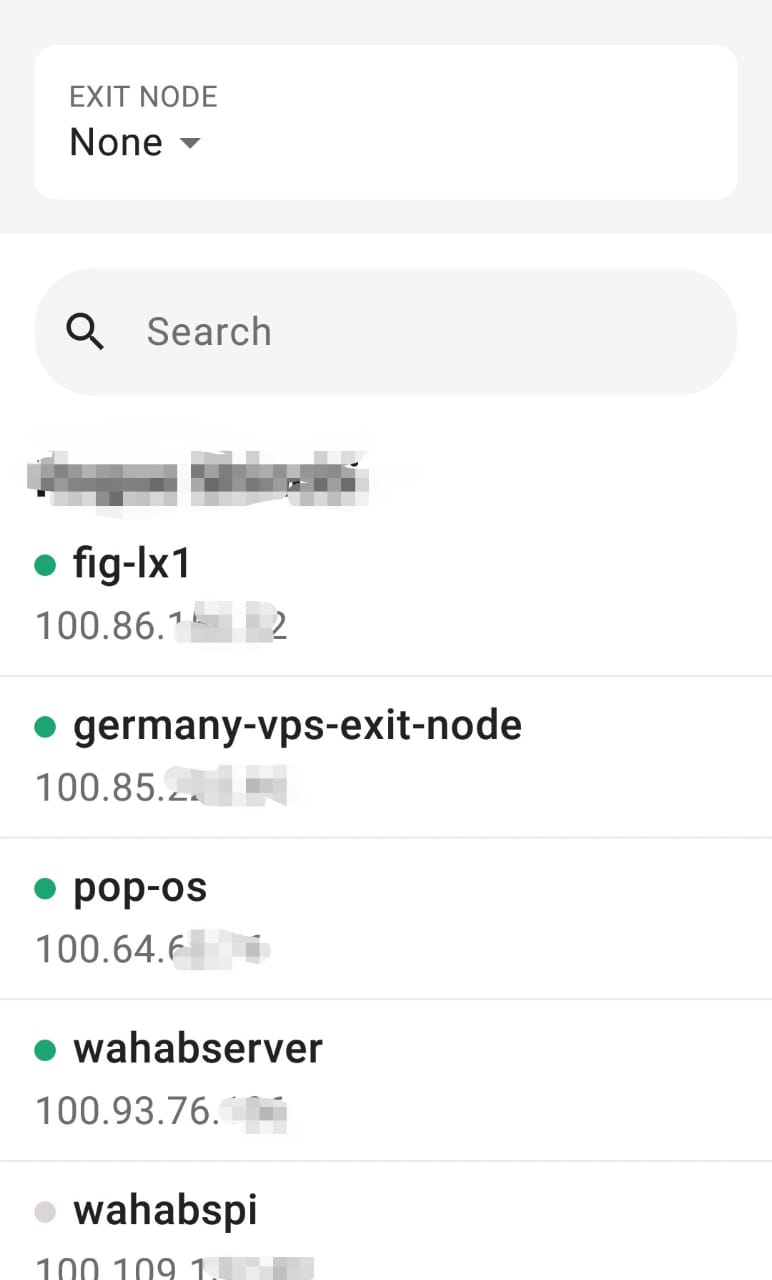
For my home server, this meant I could securely SSH into it from anywhere without exposing ports on my router or setting up a VPN. My phone, laptop, Raspberry Pi, VPS, and now my server are all connected to the same Tailscale network, so hopping between them is effortless. Once Tailscale was installed, connecting to the server was as simple as:
ssh wahab@wahabserver
Hosting My Projects on the Server
The whole reason I built this server was to stop paying for cloud hosting whenever I wanted to deploy a small side project. So naturally, the first thing I hosted was my personal portfolio.
My portfolio is built with TanStack Start, so I containerized it with Docker. After installing Git on the server, I cloned the repository into the /srv directory:
git clone https://github.com/urdadx/personal-website.git
I then created a
docker-compose.ymldocker compose up -d --build
To make the website publicly accessible, I used Tailscale Funnel, which exposes a local service to the internet without configuring port forwarding or a reverse proxy.
A few moments later, my portfolio was live, served entirely from a five-year-old laptop sitting on my desk. Seeing that first deployment was incredibly satisfying. It proved that this little server was more than capable of hosting the projects I would normally rent a VPS for. You can check out the hosted portfolio https://wahabserver.tailcbcb89.ts.net/.
What's Next?
Hosting my portfolio is just the beginning. Over the next few weeks, I plan to turn this machine into a complete self-hosted platform.
A few things on my list include:
- Immich for backing up photos instead of relying on Google Photos.
- Jellyfin as my own personal media server.
- Home Assistant for managing smart home devices and running automations locally.
- An S3-compatible object storage service for hosting images, videos, and other assets used by my projects.
- More websites, APIs, and experimental side projects that don't justify the cost of a dedicated VPS. Maybe at some point, I might create a dedicated cloud hosting platform with it so others can host their stuff too.
For a laptop that was destined for the recycling bin, I'd say it has earned its second life.
Everyone deserves a second chance